
How to create interactive product images with AMP for Email

By Dave Stys October 4, 2022
Up your electronic mail coding skills with this move-by-step AMP for Electronic mail tutorial. Generate your individual electronic mail that allows viewers improve the shades of a product or service picture.
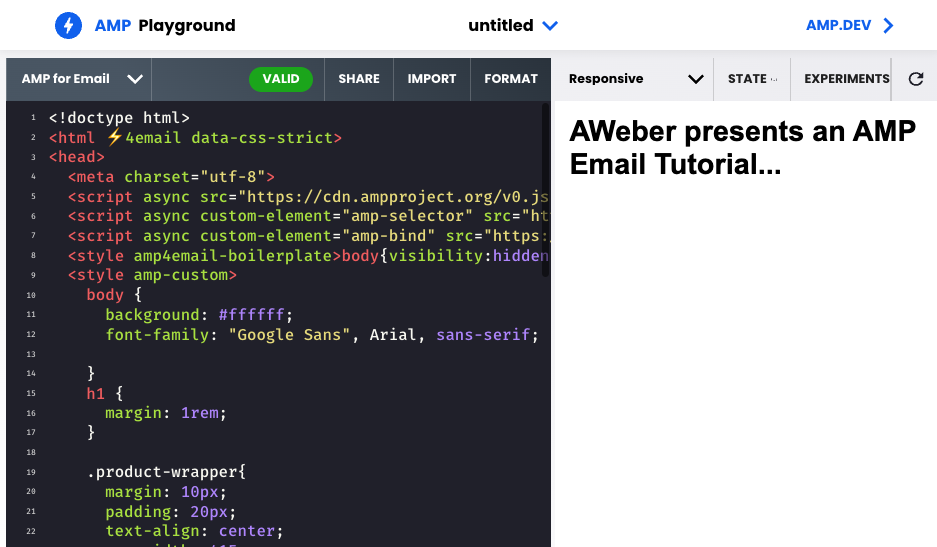
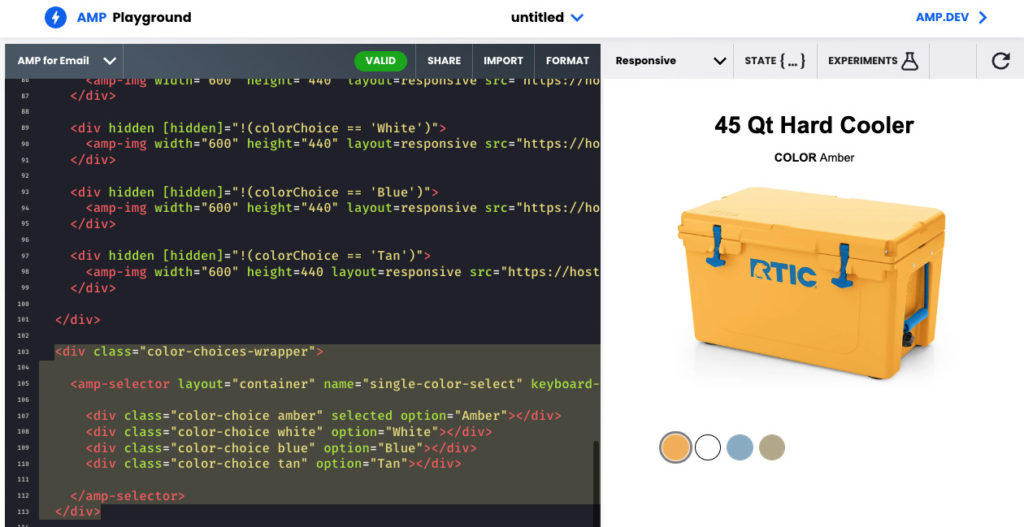
In this this tutorial you will study how to develop an interactive e-commerce electronic mail concept. We’ll display a solution with various color choices. The reader will be able to press each and every shade and dynamically update the item image. Here’s what it seems like (see the whole code instance):
Whilst it’s a reasonably uncomplicated case in point, you will turn into acquainted with a handful of vital AMP for E mail components this kind of as:
- amp-img an AMP replacement for the html5 img tag.
- amp-selector a manage for selecting one particular or extra alternatives
- amp-bind responds to user actions these kinds of as hovers, clicks, kind submissions, etc.
To give you an thought of what else can be with these elements, here’s a far more subtle instance from Google. This provides the more complexity of demonstrating different products and solutions (the 1-pack, 2-pack, and 3-pack) and allows people see these goods in different hues, but the theory of what you are going to master down below is the identical.
Step 1 – Speedy Begin with the AMP Playground
We will use the formal AMP Playground for this tutorial. I have absent in advance and involved some fundamental CSS for laying out our products picture and the coloration selectors so you can focus on discovering how the AMP elements get the job done.
Go to this customized AMP Playground for a brief way to get started off.
Action 2 – Increase The Item Information
Let’s start laying out the concept. We’ll commence with the products tile, description (just shade in this scenario), and the merchandise pictures. Insert the following inside the
.
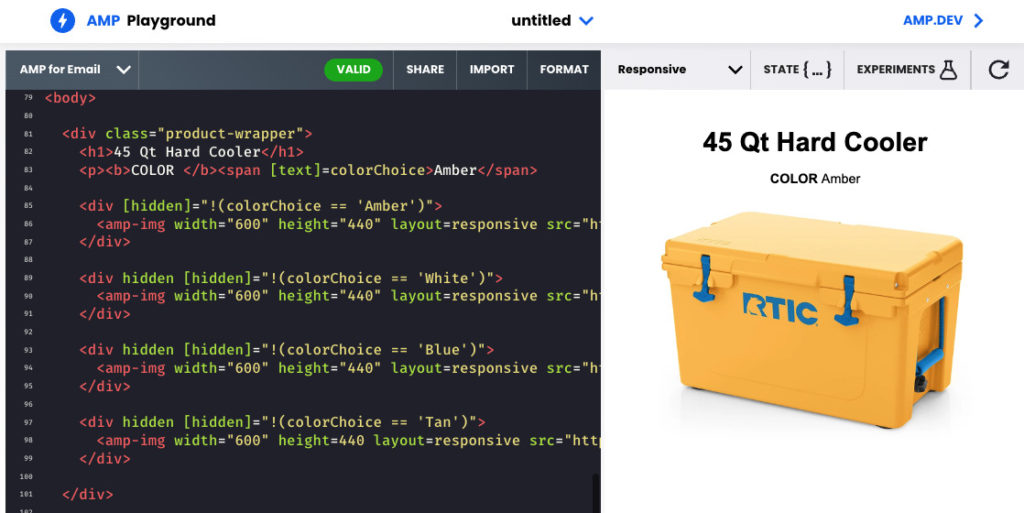
    45 Qt Difficult Cooler
    Color Amber
Observe, we’re employing [text]=colorChoice. This is a hook that we can use afterwards on in the tutorial to update the merchandise description with the preferred coloration. For illustration, when the consumer chooses “Blue”, the text will dynamically update from “COLOR Amber” to “COLOR Blue”.
Up coming let us add our 1st merchandise graphic. Let us start with our default color, Amber.
The [hidden]="!(colorChoice == 'Amber') which indicates that the Amber product or service graphic will only be found when the consumer selects the Amber shade.
Next, include the remaining product or service visuals, a single for just about every colour. Each and every of these will originally be hidden, as the Amber color will be the default item variation.
Action 3 – Adding the Color Alternatives
It is last but not least time to add a selector for each and every of the color possibilities. We’ll use amp-state will be up-to-date to replicate that coloration alternative. The change to amp-state allows the relaxation of our doc know to improve the item graphic and the coloration description. Add the subsequent under the product specifics.
The colorChoice variable. This variable is made use of to show the correct item graphic and to update the color description text in the item facts.
on="find: AMP.setState(colorChoice: function.targetOption)"
At this place, go ahead and attempt selecting each individual coloration choice. You really should see your item aspects update appropriately.
Knowledge How it Performs
Below is a summary of the fundamental principles utilized in this illustration.
Shade Selectors: The shade selector, colorChoice variable all through the doc. (
on="select: AMP.setState(colorChoice: function.targetOption)"
Product Visuals: The merchandise photographs have basic logic to disguise or exhibit each impression centered on the worth of the colorChoice variable. Illustration: concealed = True when colorChoice is not equivalent to ‘Amber’.
[hidden]="!(colorChoice == 'Amber')"Merchandise Description: The item description text also updates to the price of the colorChoice variable.
AmberDemonstrate us what you developed!
Next, I recommend sending on your own a copy of the concept you developed from this tutorial. Use an electronic mail service provider that supports AMP for E-mail these as AWeber or use the Gmail AMP Playground.
If you have been motivated by this publish, I’d really like to see what you made! Share in the opinions down below or mail me an e-mail and request me to consider a look.


